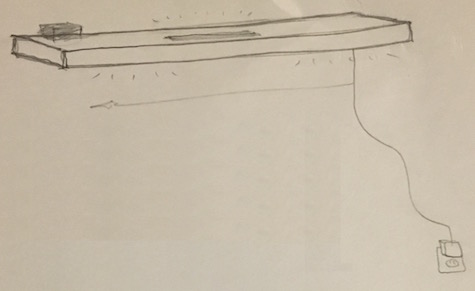
Initial concept sketch
Initial concept sketch
I've been wanting to try out the latest in home automation for quite some time... since I last set up X10 on my Atari 800 (don't ask). Now many folks call it the Internet of Things (essentially the concept of widely distributed inexpensive sensor and control technologies). The advent of Siri, Raspberry Pi, Arduino, etc. certainly reduces cost and increases options. We'll start out with a NeoPixel Shelf Light:
Our shelf sports three banks of NeoPixels, two point down for reading, and one up to light the room overall.
To control your home remotely, and with voice, we need a home automation system. Apple's HomeKit and Siri work with our family's iPhones so that's what this tutorial covers, but Amazon's Echo/Alexa & Google Home work too.
Apple and Amazon need to allow folks to customize the name of their assistants. I know people named Alexa and Siri, which must just make life awkward in those households. Give us some choice. So far, at least, I don't have any friends named Google, so Google Home hasn't earned my ire, yet.
Apple certifies third party peripherals as HomeKit compatible, but since that's quite a bit of work, we'll another path: Homebridge, based on HAP-NodeJS, running on a Raspberry Pi. Any Pi will work, but rather than trying to keep WiFi running 24/7, I suggest hardwiring the ethernet to your router.

npm install -g homebridge-mqttswitch which puts the config file in /usr/lib/node_modules/homebridge-mqttswitch. No need (any more) to follow the steps in "Adding Homebridge to iOS, since Apple distributes their Home package with iOS 10.You can build a shelf from scratch or just buy a floating shelf for around $30. Use a router to cut out two 1"x14" slots in the bottom (reading lights) and one on the top (room lighting). Drill a couple of 1" holes next to each other to thread the wiring through, and use a table saw to trim 1x14" smoked acrylic strips to cover the holes. Cut similar strips from a lighting grid to keep the light somewhat controlled & directional.
The lights themselves are full-color AdaFruit NeoPixels. I suggest a 1 m 144 RGBW LED strand cut it into three smaller strips. To run the lights I chose to use a Adafruit Feather HUZZAH with ESP8266 WiFi, it's small, inexpensive, and has built-in WiFi.
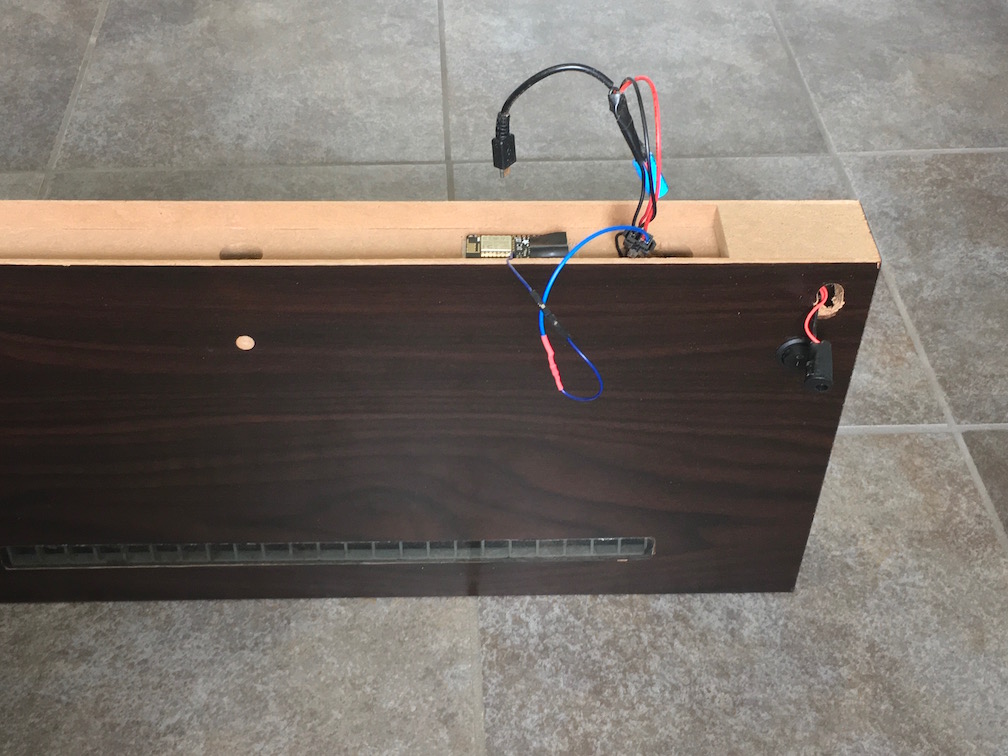
I installed a barrel plug for power input, and a switch to toggle the power (though I haven't had the need to use it yet). I stuck the HUZZAH in place with Velcro (actually Dual-Lock) I had lying around, and connected the 470 Ω resistor & 1000 μF capacitor. The circuit looks like this:

You'll need a 5V power supply to power the ESP8266 and the NeoPixels. Though you can run a few NeoPixels directly through the ESP8266, for anything beyond lighting up a couple of LEDs, you'll want to have this external power. RGBW NeoPixels want 80 mA each so to drive a full 144 strip we'll need a supply that can supply 11.5 Amps for maximum brightness. I recommend a 10 Amp supply. If you go with 60 LED strips and plain RGB NeoPixels you won't draw as much current. Assemble the components as shown below making sure to connect the data input line into the NeoPixels from the correct side (look for the arrows screen printed onto the strip itself). Use electrical tape or shrink tubing to isolate and secure components.

And I've shared the code here. This includes both the accessories code that runs on the Pi, and the Arduino code for the ESP8266.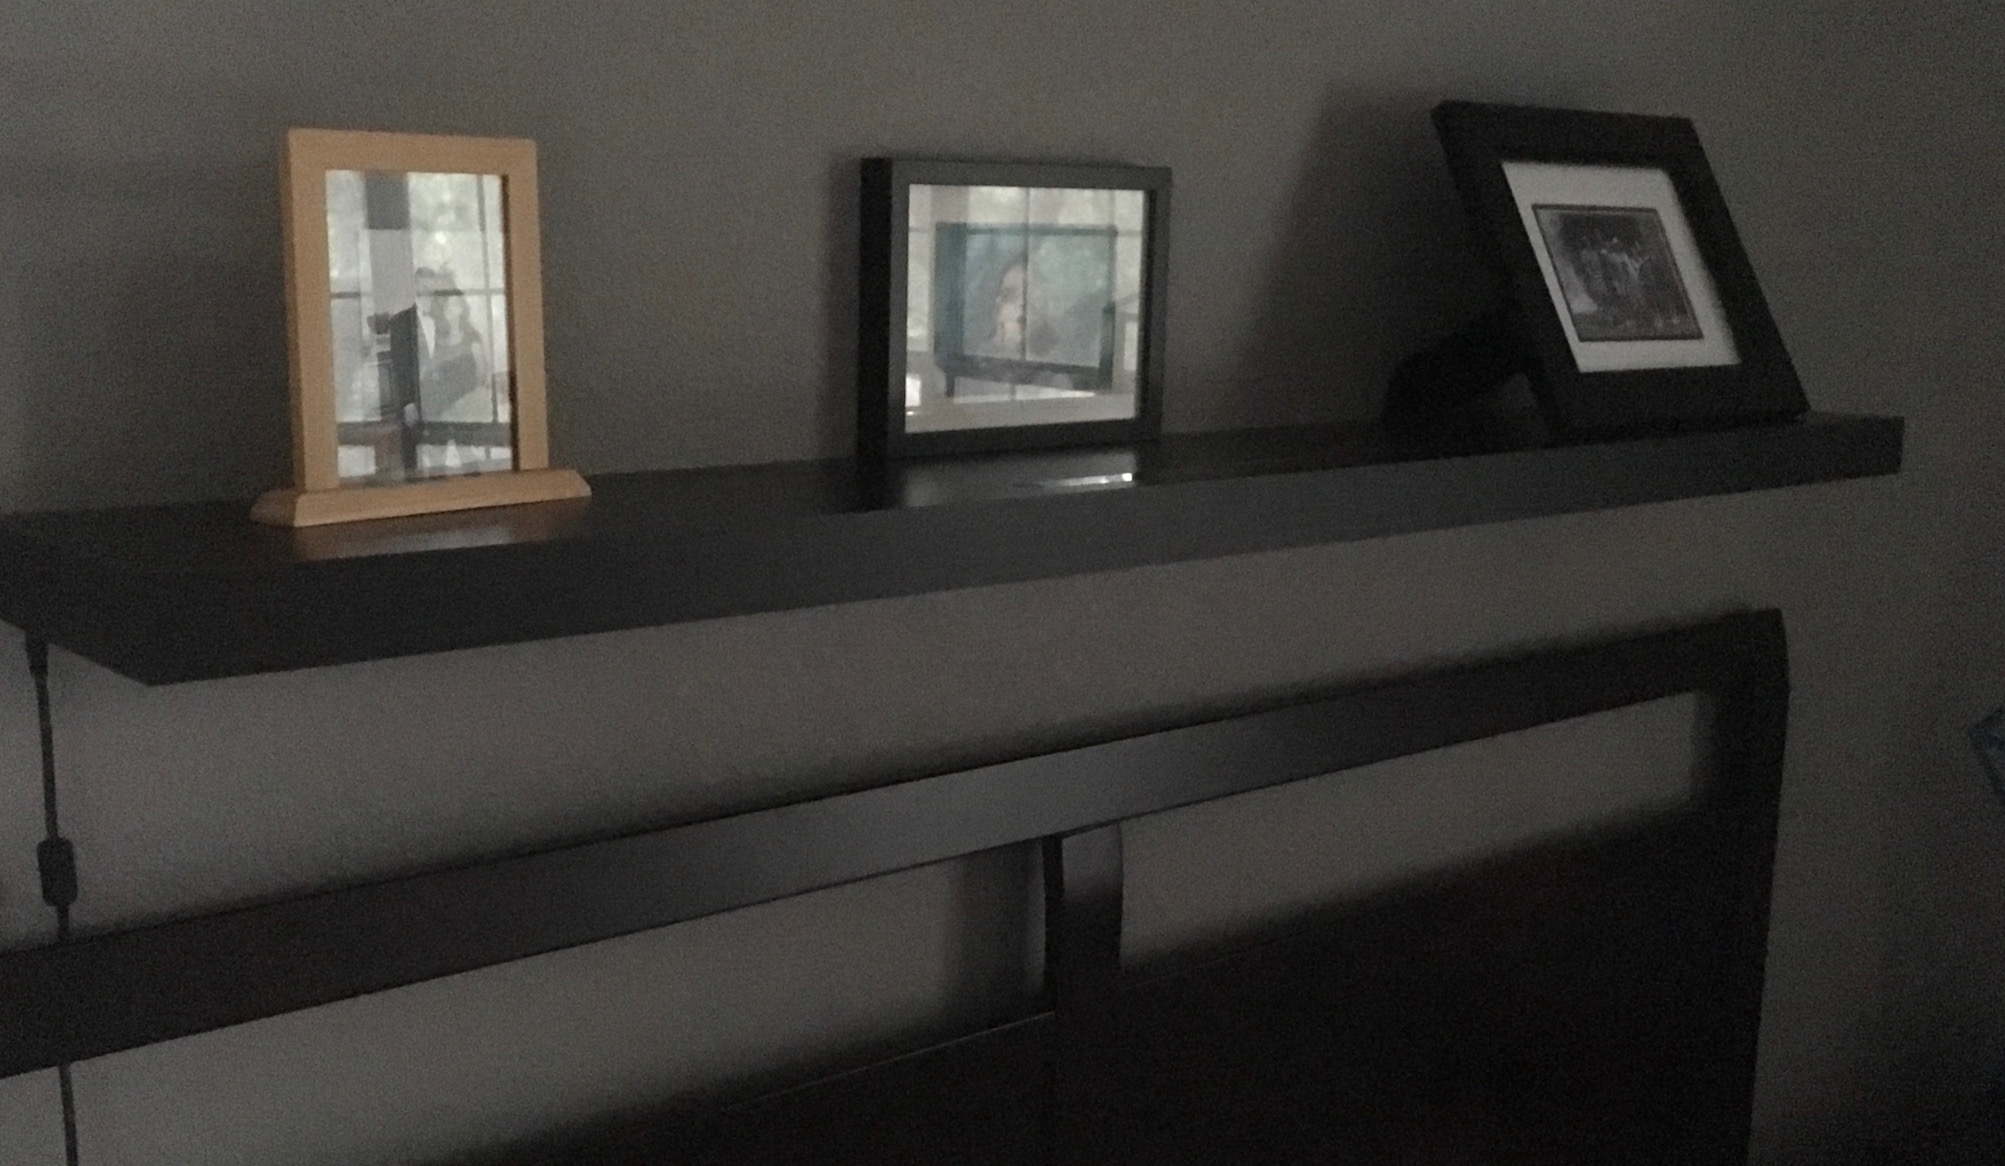
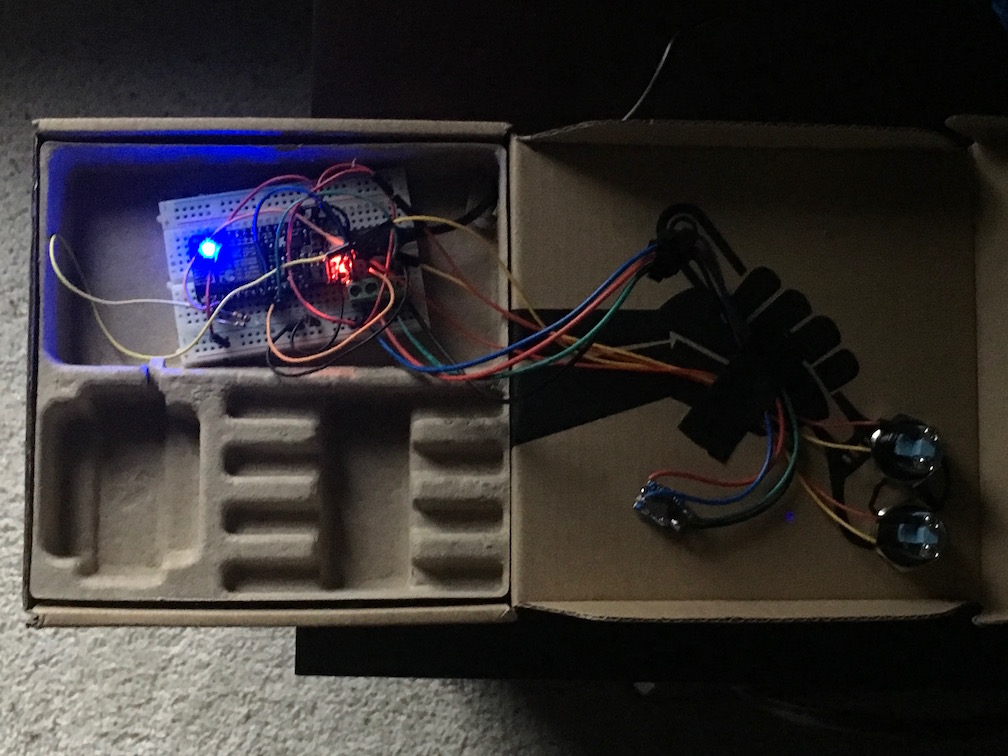
Since my wife doesn’t yet have iOS10 on her phone, though, and since there's not always a device handy, and just for the challenge, I wanted an alternate way of controlling the light (and future IoT devices around the house). So I decided to get use another ESP8266 board, plus some buttons and knobs, the existing LEDs, and a box I had laying around the house, to make a remote control.

For now the insides are just a prototyping board, but I'll solder it eventually.

Thought you can't see it in the photos, I also added a battery (it just plugs into the ESP board) so it's fully portable. Eventually I may even add a display, perhaps with a motion sensor or some other way of making sure it's not on all of the time.
I've shared the code here. Note that the remote doesn't require HomeKit, it sends MQTT signals directly, so it operates only within the home wifi. Please let me know or contribute if you have suggestions on how to improve it.
And now the moment of truth. Much of the time I spent on this project was to make sure that everything would work with HomeKit and Siri, and it does!
Perhaps less sexy, but more useful when you want to be quiet, is the iOS Control Center for HomeKit. Note that with the iPhone 6s and above this appears with just a tilt of the phone and a swipe up from the bottom of the screen (and a left swipe if necessary). I've found that it's very convenient.
OK, this isn’t a new lesson, but start simple. Build up one success at a time. Don't wait until the end to discover that key parts aren't working.
NeoPixels aren't that bright. I may have to retrofit in some brighter LEDs to supplement the setup & make it more useful for general lighting. I’d also consider going back and installing a more dense strip… 144 LEDs per meter are available.